Showing posts with label Tutorials. Show all posts

Monday, August 8, 2011

Hula Hoops

The kids and I had decided maybe they needed hula hoops, and we decided maybe we needed to use up a few items we had at the house; you know - reduce, reuse, recycle!
So if you have ever wanted to know how to make a hula hoop for yourself here's how:

Things you will need:
 A small PVC pipe, I think ours were 1/4 inch, but basically you need a small tube that can be bent around into a circle; we got ours at ACE Hardware (we started with 10 feet of pipe but decided that was too big so cut it down to 8 feet since the kids have such small hips.  We later determined that maybe 9 feet would have been the best so they didn't have to move their hips quite so fast when hula hooping)
 Colored electrical tape, any color of your choosing
And finally you will need a connector, this we also got at ACE Hardware.
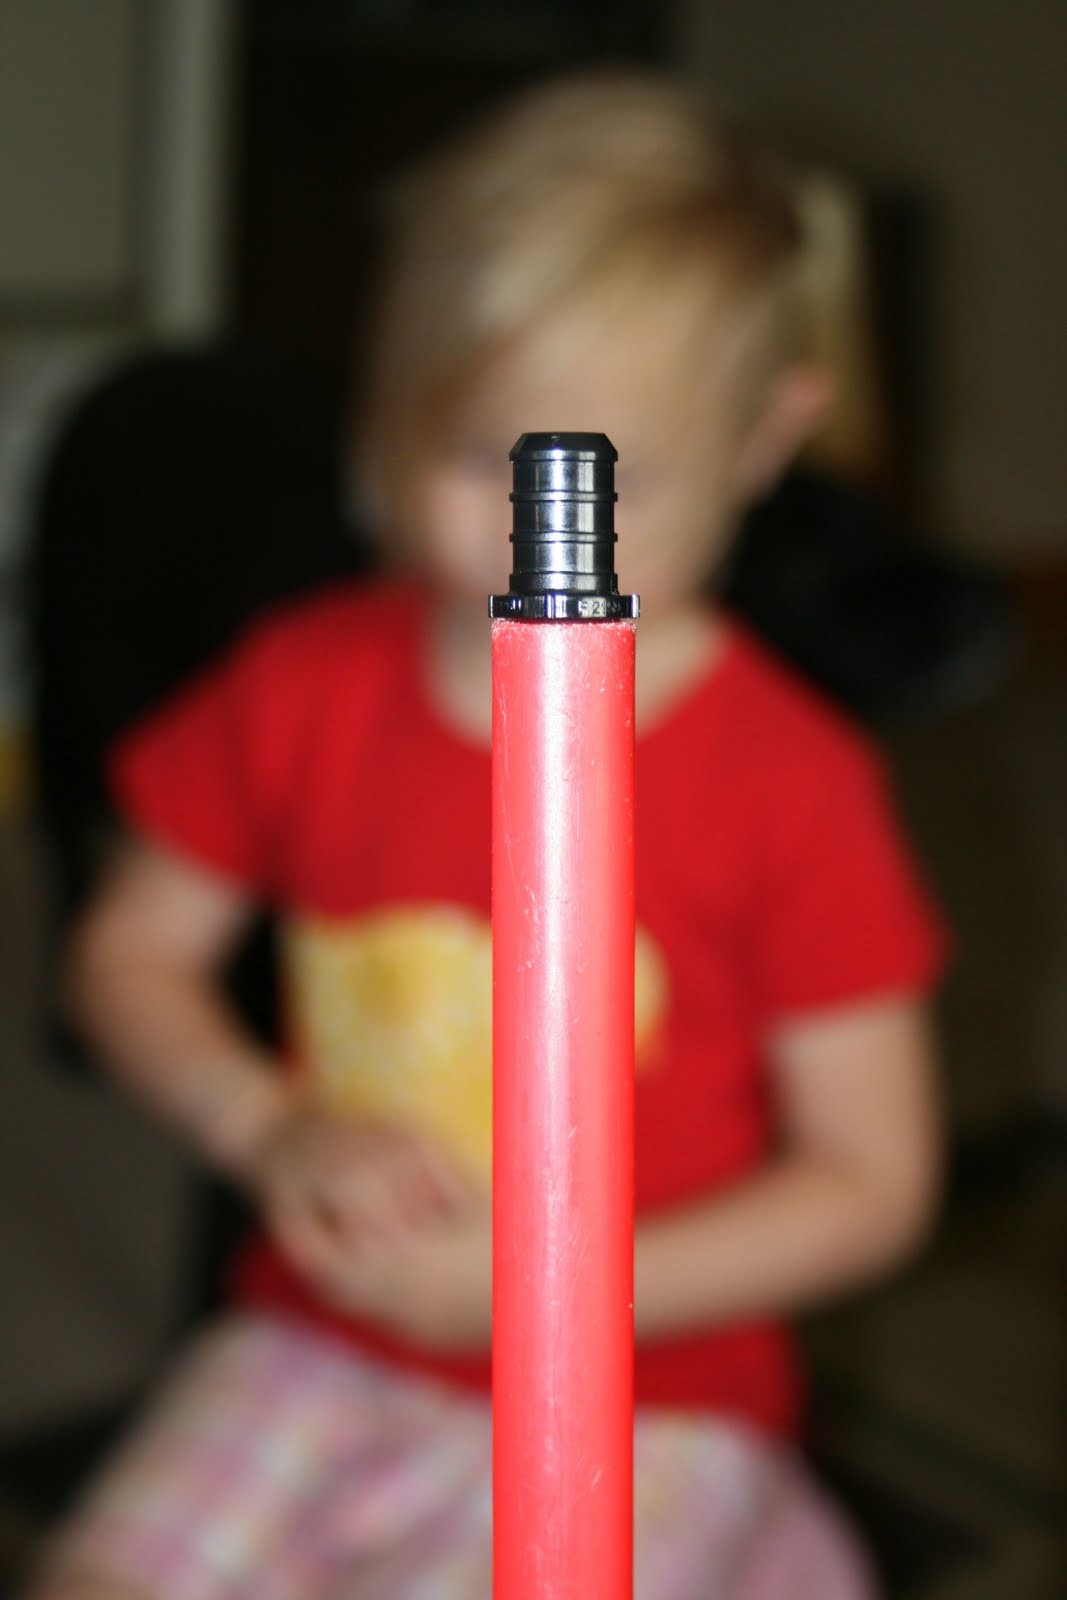
Put the connector in one end of the pipe 
and pull the other end of the tube around and put it on the other end of the connector.  It should look similar to this when both ends are on.
And voila, you have a circle!
 Then you wrap it in your choice of tape,
 and wrap,
and wrap some more till the whole thing is covered.  
 And finally you practice and practice till you can move your hips just right to make that hula hoop spin around just right!


Hope you all have as much fun as we did making these, and even more fun hula hooping.
Happy Hula Hooping!!

Thursday, February 17, 2011

Little Girl's Nighty

So the other day I was cleaning out my closet as we will be moving soon and there are some things I am trying to purge before the actual packing process gets started and I happened across these little beauties.
This is a 100% cotton under shirt that I was given to help try to keep me warm in the cold of winter.  They worked well for about the first two times I wore them and then they shrank so bad they were just uncomfortable, and they rode up something fierce!  So I deemed them trash-worthy.  However, as they laid there on my bed while I was going through all sorts of other things in my closet I realized they  might be just perfect for my little girl.  I was right!  So I went about figuring out how to go about making them fit me (rather snugly) to fitting her well enough for her to sleep in.
I started the process by simply cutting the straps off ...
and sewing them together with a zig-zag stitch.  I did over lap the ends so it would lay flat as the seam would sit on the front of the shoulder rather than the top.  Because of this I ended up sewing down two open seams on each strap, if you look really closely you will see my two seams.
Then I sewed an applique on and there you have it! 

So far I have two of the appliques done, a cute little chicken and a bird.  There is a third shirt that I have yet to get done since ... well you know how things happen!  Ruby claims she wants an owl on the last one. 
I also put a little pink strip of ribbon that I tied in a knot on the back so she knows when she is putting it over her head if she has it on the right way or not. 
So if you have an old undershirt that you no longer wear and you have a little girl who likes to wear nighties to bed you can now do it yourself!

Thursday, December 16, 2010

Reusable Gift Wrap


This year sew mama sew challenged us to help reduce our waste this holiday season by using reusable grocery bags to wrap Christmas presents in.  I thought this was such a good idea!  I thought I would get in on the fun and see if I could get you inspired to do the same.
The bag I have chosen is so easy anyone can do it; from someone who has The Skills to someone who has no skills.
Items Needed:

  • an old shirt (preferably something stretchy like a t-shirt, but anything will work fine)
  • thread, any color

The arms of the shirt need to be cut off so as to make part of the handles so to get the holes the same shape and size I folded the shirt in half thusly.  I then simply cut right inside the seam where the sleeves have been sewn onto the body of the shirt.


Here it is after the sleeves are gone.  You will need to do the same thing with the neck of the shirt so it will stretch and you can get your items in and out of the bag.


Once everything is cut turn the shirt inside out and sew a seam along the bottom of the shirt so you will not have a big hole in the bottom of your bag.


So the edges won't fray you want to sew a seam along them but there is no need to fold it or iron or in other words hem the edges.  Instead just sew a line of thread along all the raw edges.  I used an over-lock stitch but you can also use a zig-zag stitch or any "stretch" stitch.  You wouldn't really want to use a straight stitch as this stitch does not stretch and you want your openings to stretch a bit. 


And you are all done!  Now wasn't that so easy you can't even believe it?


And what do you do with the left over pieces that used to be the arms of the shirt?  Well, since this is all about reducing waste you throw them in your scrap basket of course!


You thought that was going to be long, drawn out, and rather hard didn't you?!  Well, weren't you pleasingly surprised?


Now you can use this great little package to wrap another package in.  I used ribbon to tie it all up so as not to use any tape that will just be thrown away, and for the tag I cut a rectangle out of an old paper bag I had here and put the initial of the little chicken that will be receiving this particular present and stuck it under the tree.


Some other sites for a bit more inspiration: